|
Vertical Divider
In this section, you can find some of the applications, scripts, code blobs and such. Not really in any order at the moment as well I haven't created enough to worry about that sort of problem yet!
Open for BETA Test
|
Vertical Divider
|
|
Vertical Divider
Just what everyone wanted, an 80 column terminal for the ZX Spectrum. Cramped up 3x8 fonts with the colour clash and a bit banged serial port or Spectranet. Currently only in BETA and supporting Serial ports both IF1, 128K (Toastrack +2 +3) and Spectranet. A 40 column version of snapCterm is available. However, some BBS systems are intended for 80 column (PC DOS) clients, thus may not render correctly on a 40 column client. To use the serial versions, you need the appropriate cable, a computer (PI/PC) to run TCPSER or similar Serial port to TCP bridge. Some people have WiFi Modems, these must be running Zimodem firmware (not Espressif ESP-AT Modem). You can run FUSE on Linux and emulate a spectrum with IF1 (128K serial not supported, but Toastrack works with IF1!). See T.F.M section on ZX Spectrum RS232 which can help you sort out the hardware requirements. You need to have a look at the manual as there is some clever trickery involved to get around the limited number of keys! A sharp display image isn't mandatory but recommended as the font is tiny. ZXHD from Byte Delight, RGB on plus machines or a Video mod for 48K machines. The font surprisingly becomes more legible with use. |
Vertical Divider
Beta 2.2
Beta 2.1
Beta 2.0
Beta 1.1
Update log
There are several versions of the terminal to match different possible configurations, check you have the right version for your setup. Serial support is hardware dependent, Interface1 and the 128K (Plus) serial ports must use the correct version. All serial port versions assume Zimodem or TCPSER protocol, NOT ESP-AT Modem. Spectranet requires the Spectranet version! The spectrum is not even close to matching the modern keyboard with almost half the keys. An extended mode (Green border) is used to toggle between modes. A feature of PlatoTerm for Irata.Online that works well, using the first letter to represent the key mapped (E is Esc). To toggle the extend mode press and hold Symbol Shift and tap Caps Shift, the border will change from black to green. Extend mode keys interpret as below. C - CTRL Key (Control mode Cyan border) K - Clash correction (Toggle On/Off) M - Mono mode (1 > 7 > Colour mode) T - Tab key E - Escape key U - Page UP D - Page DOWN Cursor keys (5 6 7 8) - Left, Down, Up Right R - Reset **Things to note, the Cursor keys (even on the plus machines) only work in extended mode. The CTRL key is another mode that turns the border Cyan. Like the shift key, CTRL works in combination with another key. When the border is cyan, the terminal will send CTRL+key signals. When in an extended mode some keys will reset back to "normal". A none resetting key example would be Cursor keys. To manually reset the mode toggle using Symbol Shift and Caps Shift. Baud rates, you can change the baud rate from the default 9600. This default provides the best stability vs speed. Using 4800 baud is possible but very slow. Higher 19200 works in FUSE but not on real hardware, let me know if you manage to get it working! The receive buffer size is adjustable; the main effect this has is when the screen drawing process starts. Using a smaller buffer starts drawing the screen sooner, bigger you wait for the transfer before the screen drawing. For reference drawing the screen takes as long or longer than the data transfer at 9600 baud! In the top right-hand corner, there are some flashing boxes, these indicate activity. Red is Receiving data (be patient), Green is Sending data (you won't see it much), Cyan is the Keyboard being checked for Keystrokes. | ||||||||||||||||||||||||||||||||||||||||||||||||||||
9-Iron Tool kit
|
|
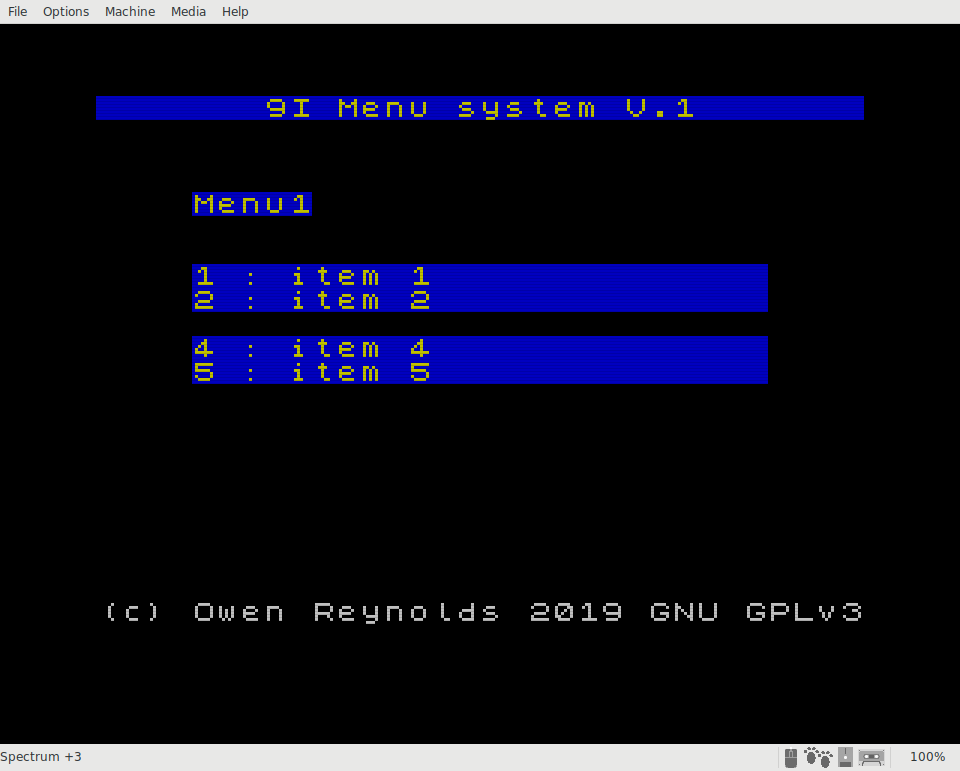
9 item MENU - 9iMIntended for loading other programs from the same storage device. The menu system wraps a call to LOAD "FILENAME.XXX". To load machine code programs, a separate BASIC load is still needed. It is possible to connect multiple 9iM basic programs to create a series of menus/submenus. Traversing between 9iM menus invokes a LOAD, losing data in memory and incurring loading delays.
Using 9iM to build a menu The process involves editing the Arrays section, then saving out a copy of the BASIC with SAVE "name.9im" LINE 1. There are 3 subroutines for performing the file save work (explained later). Edit the following Arrays by inserting the required information between the "" on each line. Line 45 c$ is the name of the menu. Shown on screen and is used to name the file so limited to 8 characters. (Does not require file extension this is added by the SAVE call) Lines 50 - 60 a$ these array elements used for the menu labels. They are set to 20 characters initially. The array length changes affect the screen layout, so be careful if you do. Lines 70 - 80 b$ used for the actual filenames to load. Remember these files are expected to be on the same storage device (Drive letter). You specify the files in their full 8.3 formats. These 3 arrays configure the menu. The Arrays a$ and b$ contain 10 items, not 9. The thought was that 9 items would be available, and the 10th could be used to load a further menu or exit program. It is possible to use all 10 menu positions to load 10 other menus, mooting the design decision. The final step is to save the edited BASIC code to the file system. You could do this with SAVE "filename.xxx" line 1 manually. Alternatively, use one of the 3 subroutines provided to ensure accuracy. They can be run using a GOTO call with the line number. It is worth checking the default storage device is selected as expected, do this with LOAD "A:" (or another letter). Line 9501 this is intended to save a version of the BASIC when working on the template code. It saves a file to the currently selected storage device as SAVE "9IM_V#.bas". # replaced with the version number stored on line 9401 (Version subroutine). Line 9511 creates a self-executing copy of the BASIC as a menu. Using the value in c$ for the filename and prefixing .9im. The method to use when not loading the created menu on boot. Line 9521 save the BASIC as a self-executing DISK file. With +3DOS the Spectrum Loader menu checks a disk for a "DISK" file and executes it automatically. You can only have one of these on a disk! Use this option for creating a master menu for a disk. Should you accidentally save over a DISK file, check for DISK.BAK the previous version. COPY "DISK.BAK" TO "DISK" to recover your original file. |
9iM Listing
|
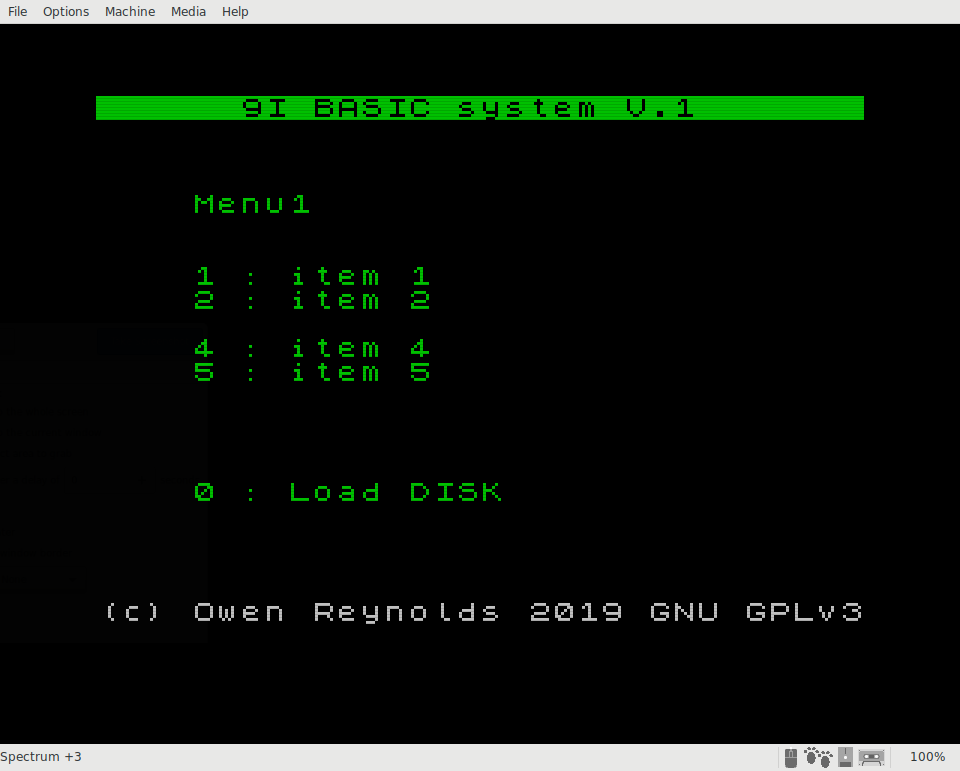
9 item BASIC - 9iB9iB (9 item BASIC), for creating a menu for short BASIC programs stored in the menu program. 9iB is aimed to provide a fast scratchpad for housing routines with a menu. The program borrows heavily from the concepts used in 9iM, replacing the LOAD with GO SUB calls. Each subroutine has 498 lines available. Link to the menu with a GO SUB and marked out with a REM and RETURN. Place you BASIC code between the REM and RETURN pair with a label in a$. Subroutines are provided to save out the code quickly and easily. 9iB is intended for programs which are too small for efficient use of a 9iM entry. Conversely is 498 lines isn't enough for the code, you should probably consider 9iM menu to load the code or have the subroutine load the program. Using GOTO or GOSUB to expand the code into other line numbers is also possible.
To create a 9iB menu, configure the Arrays. Line 45 c$ is the name of the menu. Shown on screen and is used to name the file so limited to 8 characters. (Does not require file extension) Lines 50 - 59 a$(1 to 9) these array elements are the menu labels. They are set to 20 characters initially. Changes to the array size affect the screen layout (be careful!). Line 65 a$(10) is a unique array element as its setup as a LOAD. By default, it is set up to "exit" by loading the DISK file. Use this entry to attach another 9iB menu or 9iM menu. Line 75 b$ is the file name loaded when the 10th (exit) item is selected. Once the arrays have been configured add in your code for each GO SUB. The Call table at line 510 maps the array items to the allocated code blocks. Items selected in the menu call the relevant code block with a GOSUB call and end with a RETURN. Upon returning the menu program is re-run from LINE 1, resetting the arrays and re-drawing the screen. If your code is outputting results to the screen, consider a PAUSE before the RETURN call. Your code is sharing resources with the master template, DO NOT USE a$ b$ c$ k$! There is no memory protection; it is not an operating system! It is possible to pass data between subroutines; it is just a single program. You may find this a useful feature or deeply infuriating when it happens unexpectedly. Line 9501 this is intended to save a version of the BASIC when working on the template code. Thus it saves a file to the currently selected storage device as SAVE "9IB_V#.bas". # is replaced using number stored on line 9401 (Version subroutine). Line 9511 creates a self-executing copy of the BASIC as a menu. c$ is the filename and prefixed with .9ib. It is used to create menus that you plan to load from somewhere else. Line 9521 save the BASIC as a self-executing DISK file. With +3DOS the Spectrum Loader menu checks a disk for a DISK file and execute it automatically. You can only have one of these on a disk! Use to make the master menu on a disk. Should you accidentally over save a DISK file, check for DISK.BAK the previous version. You can COPY "DISK.BAK" TO "DISK" to recover your original file. |
9iB Listing
|
